.png?width=190&height=95&name=Sittadel%20Header%20Logo%20(2).png)
 Role Requirements
Procedure Scope: Administrators
Required Group Membership: Admin.Security
![]()
Creating a DLP Policy
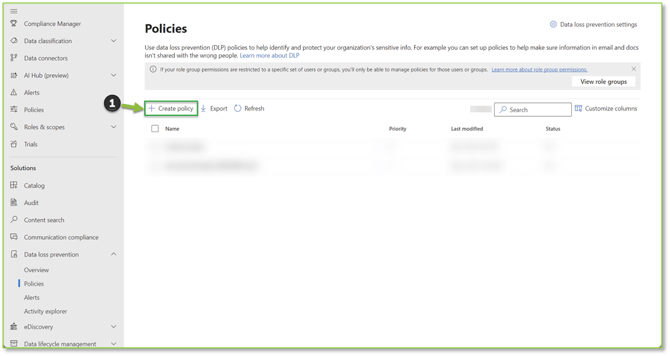
- Navigate to DLP Policies – Purview portal, locate and select Create Policy.
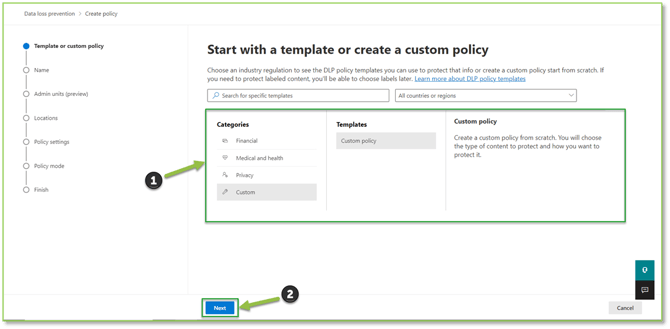
- Select a DLP Template or Custom Policy option under Categories to start the creation process. Select Next to continue.
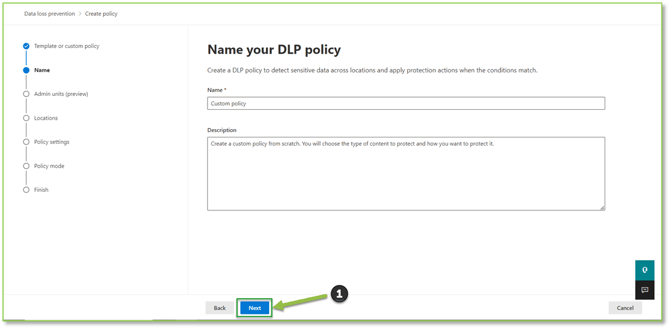
- Provide the policy with basic information such as name and description, select Next to proceed.
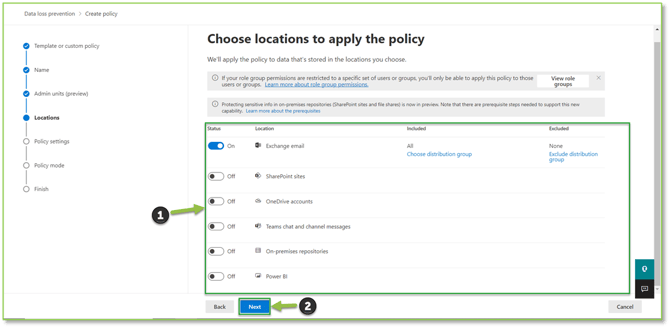
- Choose the scope that this policy will apply to, subsequently you will be able to specify user groups as well as create an exclusion if necessary. Select Next to continue.
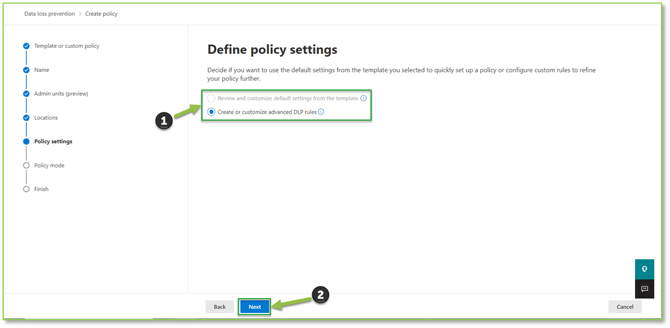
- Next you will be able to create or customize policy settings to fit the scope of the content scanning process. Select Next to start outline the rule parameters.
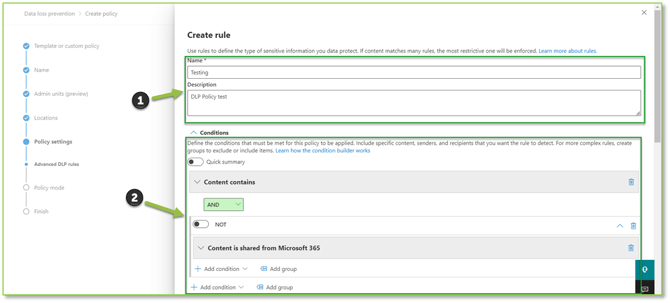
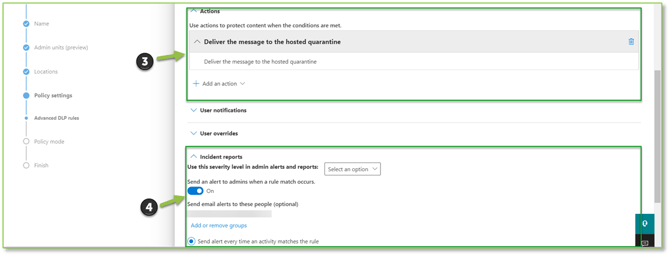
- Select Create Rule, a pop up will be displayed that will allow you to outline the configuration settings of the rule from conditions that need to be met in message context for the rule to apply, to the actions that will be enforced on the message that was flagged. Once the rule is fully configured, select Save to continue.

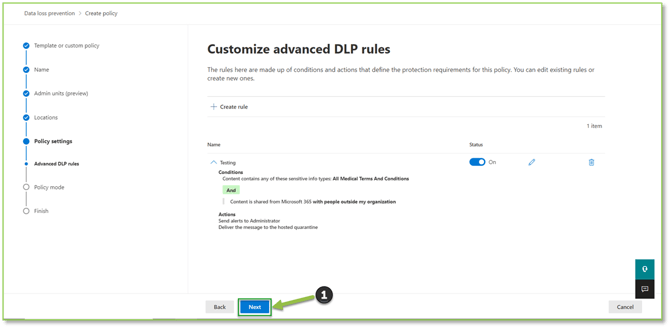
- Once the rule has been created, it will be displayed. Select Next to continue.
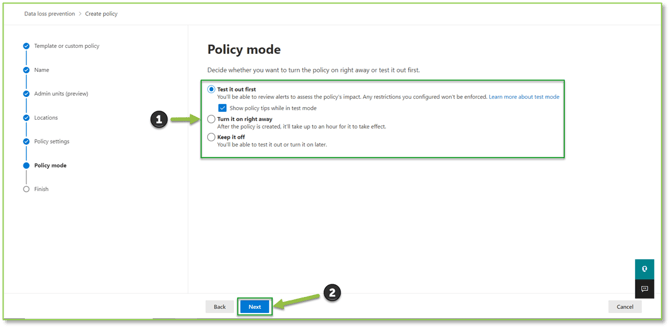
- Next you will be able to select deployment of the policy to end users. Select Next to proceed to revisions to finalize the creation process.
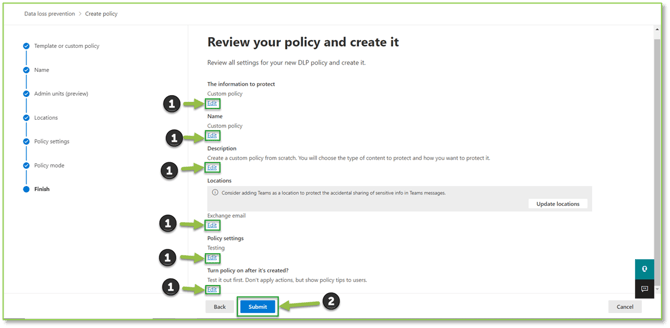
- At the revisions page, if you detect a discrepancy select the Edit button below the section that contains the incorrect information. If everything checks out, select Submit to finalize the creation process.
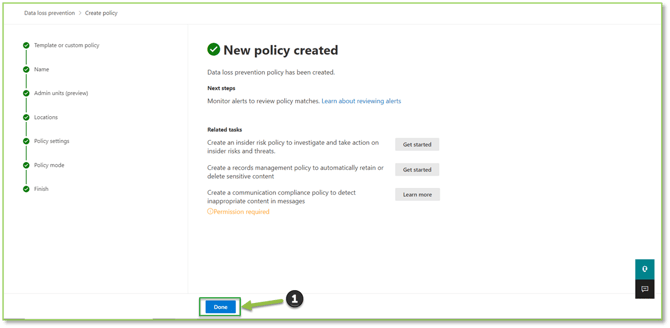
- A final prompt will be displayed detailing that the policy has been created. Select Done to finalize the creation process.
Need Assistance?
Reach out to your Customer Success Manager to discuss how a Sittadel cybersecurity analyst can assist in managing these tasks for you. New to our services? Inquire about arranging a consultation to explore optimizing your Azure environment for painless management.