.png?width=190&height=95&name=Sittadel%20Header%20Logo%20(2).png)
 Role Requirements
Procedure Scope: Administrators
Required Group Membership: Admin.Compliance
![]()
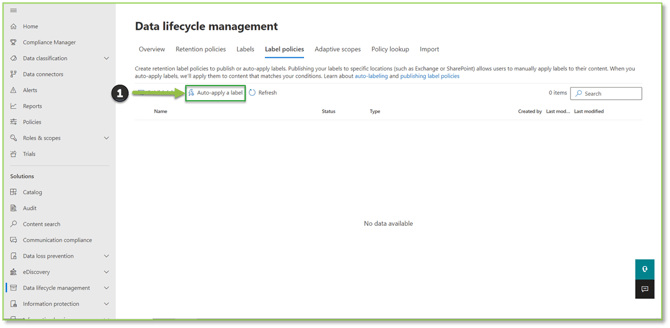
Creating an Auto-Apply Retention Label Policy
- Navigate to Retention Label Policies – Purview portal, select Auto-Apply a Label.
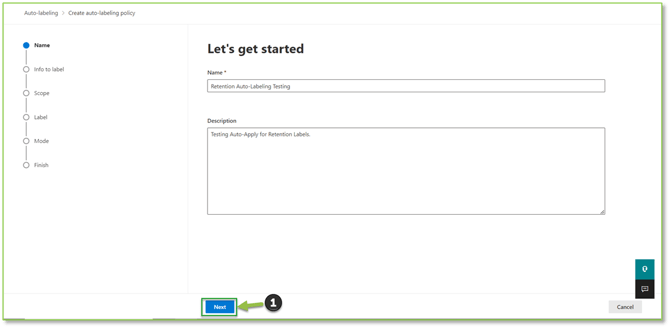
- You will be asked to provide basic information for the policy, such as name and description. Select Next to continue.
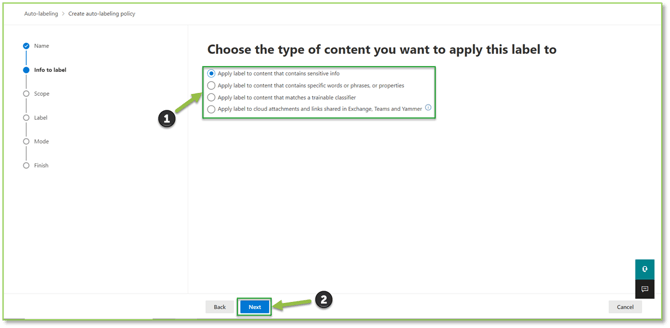
- Next you will be able to configure the type of content that the auto-apply with search for. Select Next to proceed.
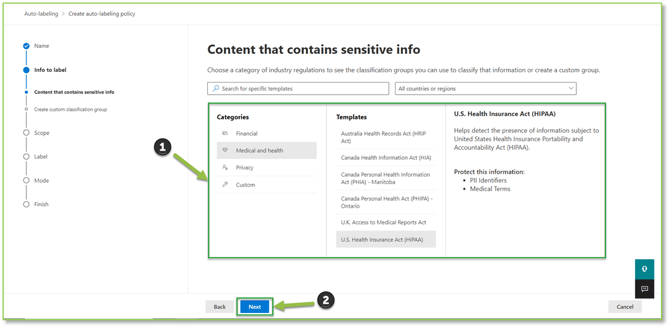
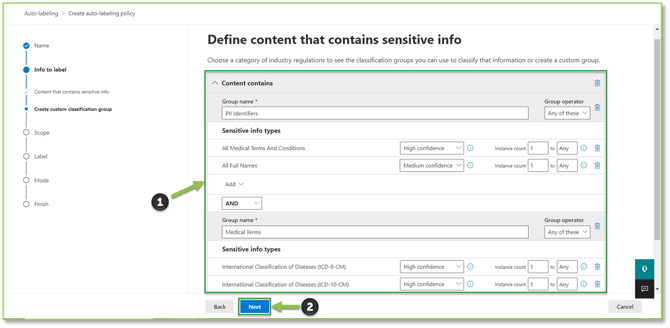
- You will be able to specify the type of content the policy will apply to; either a preconfigured template from a Microsoft defined category or a custom rule creation can be generated. Select Next to continue.
- You can define the scope of the previously selected template or custom rule, once the rule fits the scope of what items you want it to apply to, select Next to proceed.
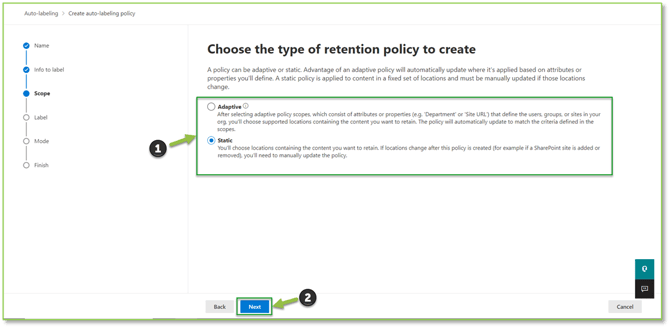
- Next you will define which type of retention policy you want to configure; either adaptive (requires E3 licensure) which will identify items off properties or static which will look at a specific location for analysis. Select Next to proceed.
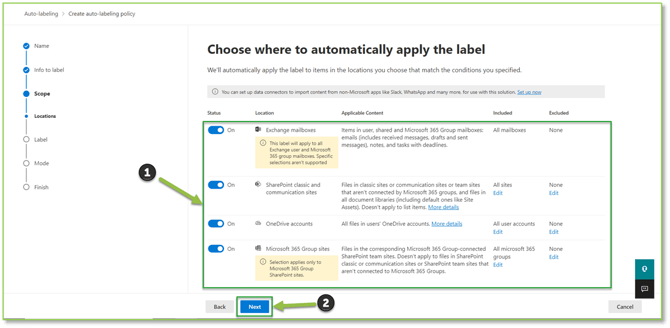
- You will apply the areas to which the policy will scan for items. Select Next to proceed.
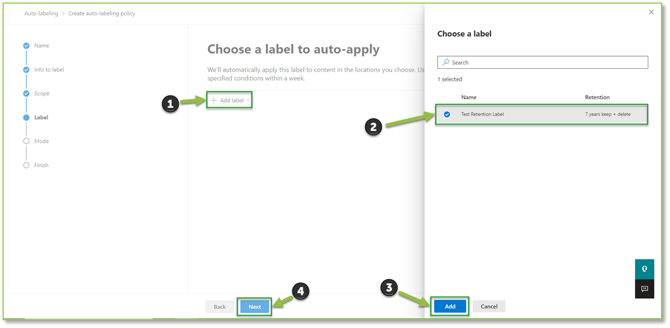
- You will need to determine which label you would like to apply to the policy, select Add Label. A pop-up will display all of the created labels, select the one you want and select Add to apply it. Select Next to continue.
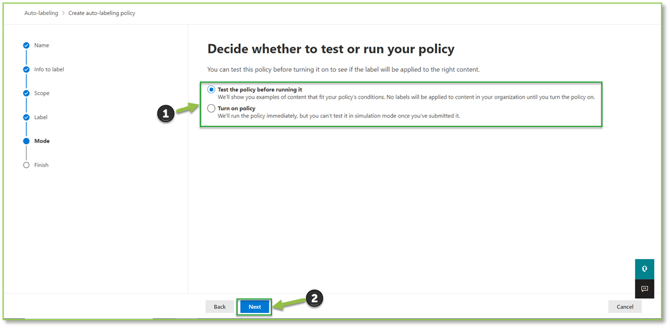
- Next you will choose whether to turn on the policy right away or enable a testing mode prior to deployment. Select Next to proceed to revisions.
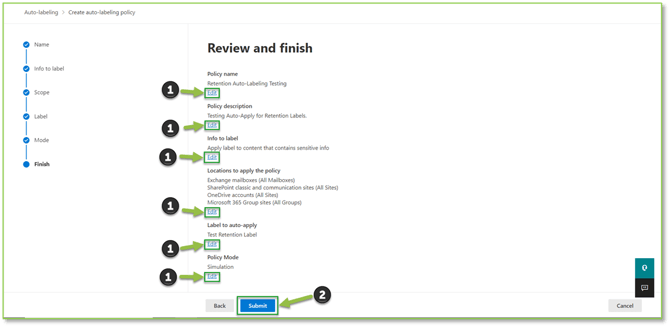
- At the revisions page, if you detect a discrepancy select the Edit button below the section that contains the incorrect information. If everything checks out, select Submit to finalize the creation process.
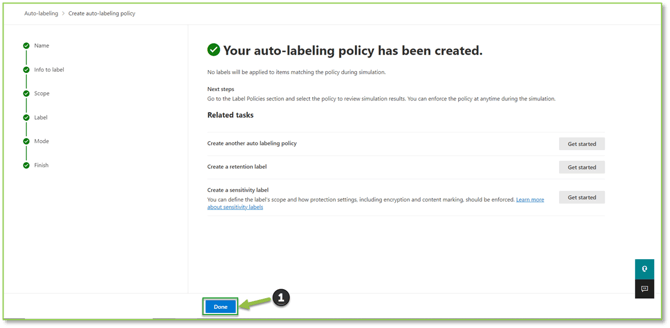
- A final prompt will display that the policy will be running in a simulation mode until it is enabled. Select Done to finalize the creation process.
Need Assistance?
Reach out to your Customer Success Manager to discuss how a Sittadel cybersecurity analyst can assist in managing these tasks for you. New to our services? Inquire about arranging a consultation to explore optimizing your Azure environment for painless management.