.png?width=190&height=95&name=Sittadel%20Header%20Logo%20(2).png)
Sensitivity labels can be extended to other Microsoft products like SharePoint, Teams, Power BI, and SQL but this requires E3 licensure which is outside the scope of a Security Essentials Deployment.

Role Requirements
Procedure Scope: Administrators
Required Group Membership: Admin.Security
![]()
Creating a Sensitivity Label
- Navigate to the Sensitivity Labels – Purview portal, locate and select Create a Label.

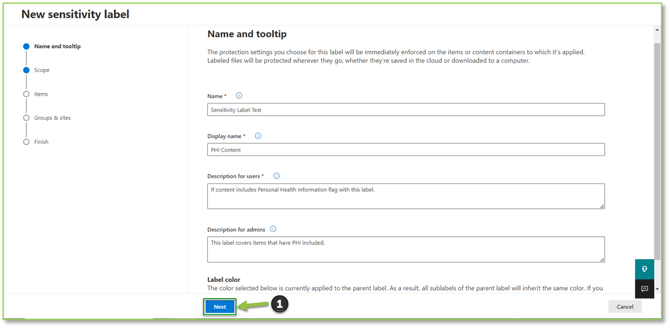
- You will be asked to provide basic customization features such as name and description. Select Next to continue.
- Next you will define the scope of the label, what items the label will be applied to base on platform, if you want to enforce containers associated with SharePoint or Teams sites or groups that will require E3 licensure. Select Next to proceed.

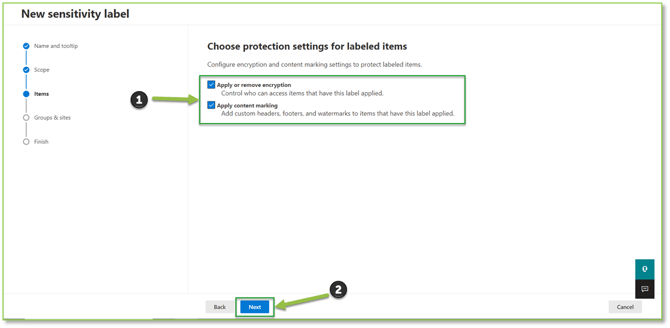
- Based on the items selected from the previous step, the protection settings for those configured items will be displayed. Select Next to continue.
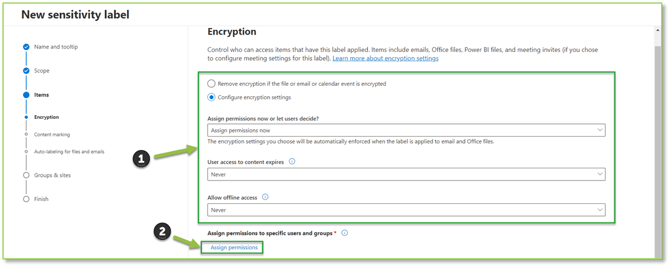
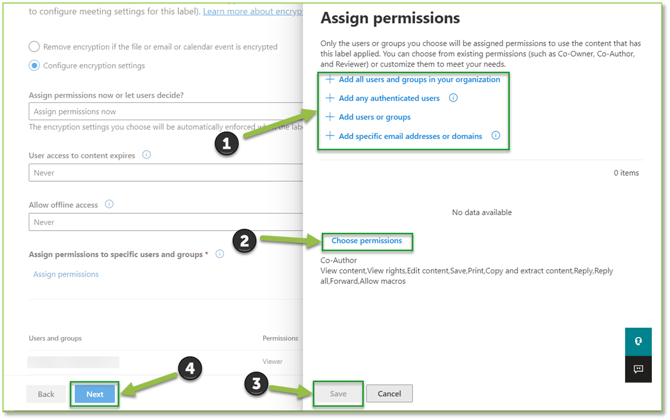
- You will now be able to configure the protection settings you enabled. If encryption was selected, you can either set the rule to remove or apply encryption to an item. After selecting settings to distribute encryption access controls you will be able to assign the policy to the entire organization, specific groups, users, or domains by selecting Assign Permissions. A window will pop-up asking you to provide the scope of users this will affect and to specify the viewing permissions you want them to have for the item (read, write, edit). Select Save to assign the permission, select Next to proceed.
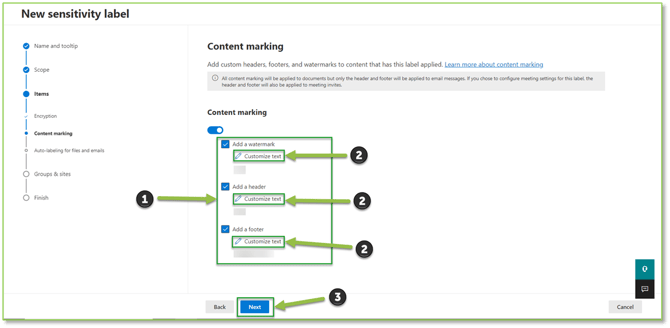
- If content marking was selected, you can select items to apply to messages to establish authenticity from the sender. Select Next to continue.
- You will be able to specify if the auto-labeling will be enabled or not, if configured you will need to specify what kind of content will need to be present for the label to be applied to; additionally, you can specify if you will enforce an auto apply policy or if you will suggest the policy be applied by the user. Select Next to proceed.


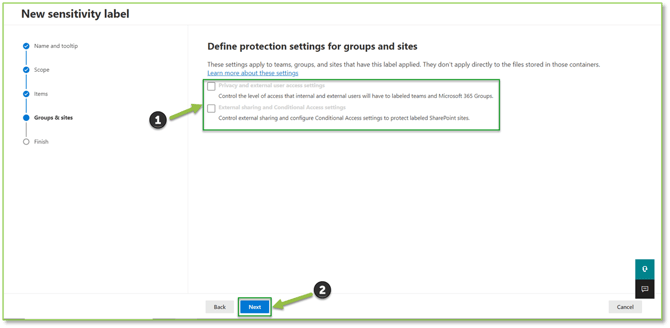
- Once the configuration items have been set, you will be able to specify the SharePoint or Teams Groups and Sites that this policy will apply to, but this can only be leveraged with E3 licensure. Select Next to proceed to revisions.
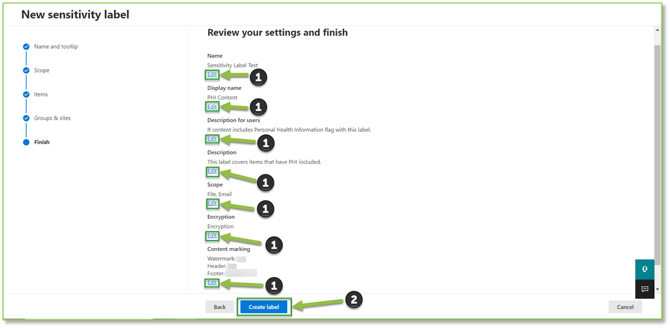
- At the revisions page, if you detect a discrepancy select the Edit button below the section that contains the incorrect information. If everything checks out, select Create Label to finalize the creation process.
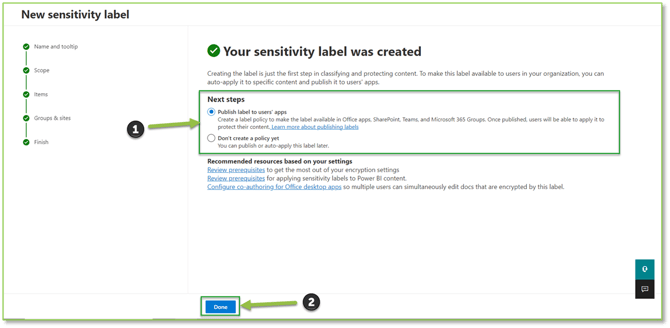
- Once the label is created you will be able to specify if the label is deployed to apps right away or if it will be enabled later. Select Done to finalize the creation process.
Need Assistance?
Reach out to your Customer Success Manager to discuss how a Sittadel cybersecurity analyst can assist in managing these tasks for you. New to our services? Inquire about arranging a consultation to explore optimizing your Azure environment for painless management.